What do you imagine when you hear the word ‘Bikepacking’? Is it packing your bike? Or Bike backpacking?
If you do not know and are curious, then you have come to the right place. I will tell you all about Bikepacking and its necessary information: what to pack, where to go, and when to go.
What is Bikepacking?
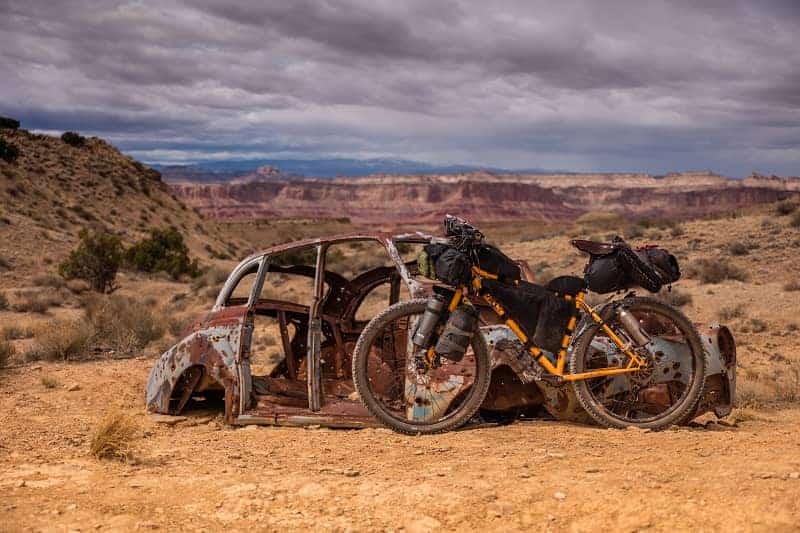
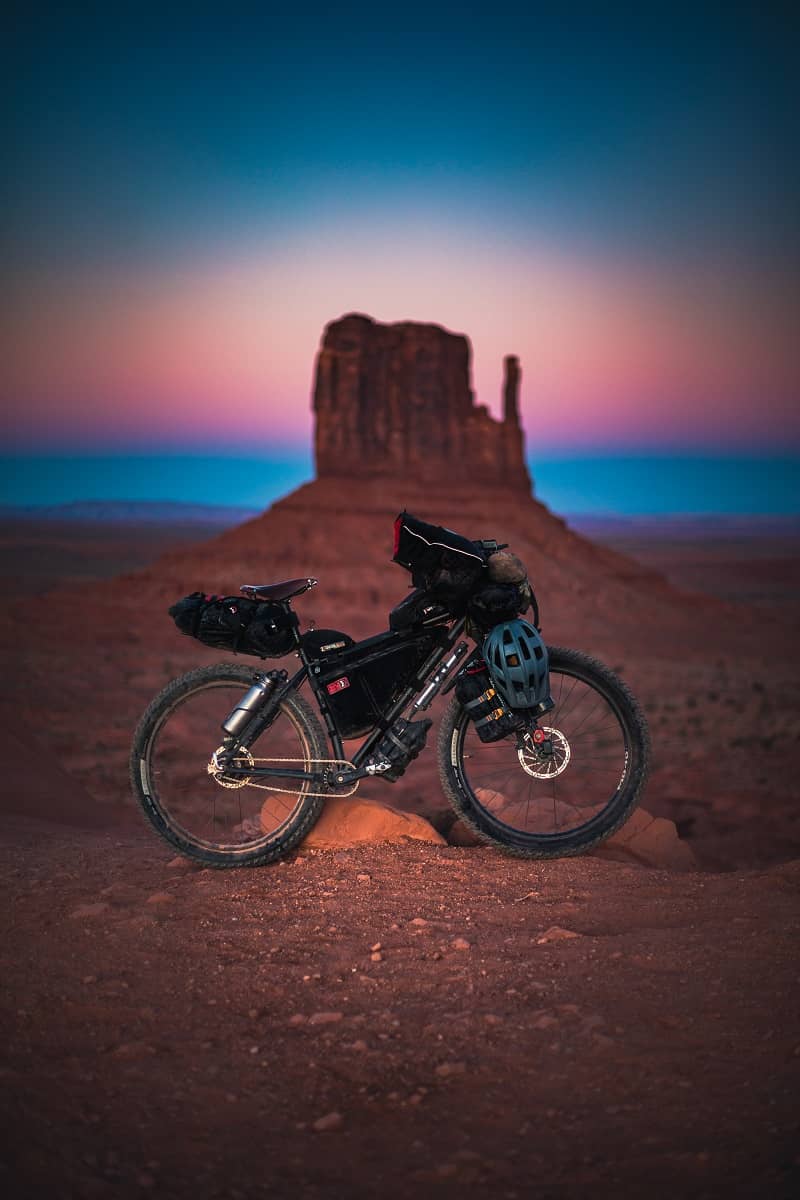
Bikepacking is a form of touring the road in a mountain bike supported by minimalist camping. It is an eco-friendly activity that comes with the experience of a lifetime. At the same time, you encourage other people you meet on your trail to do the same.
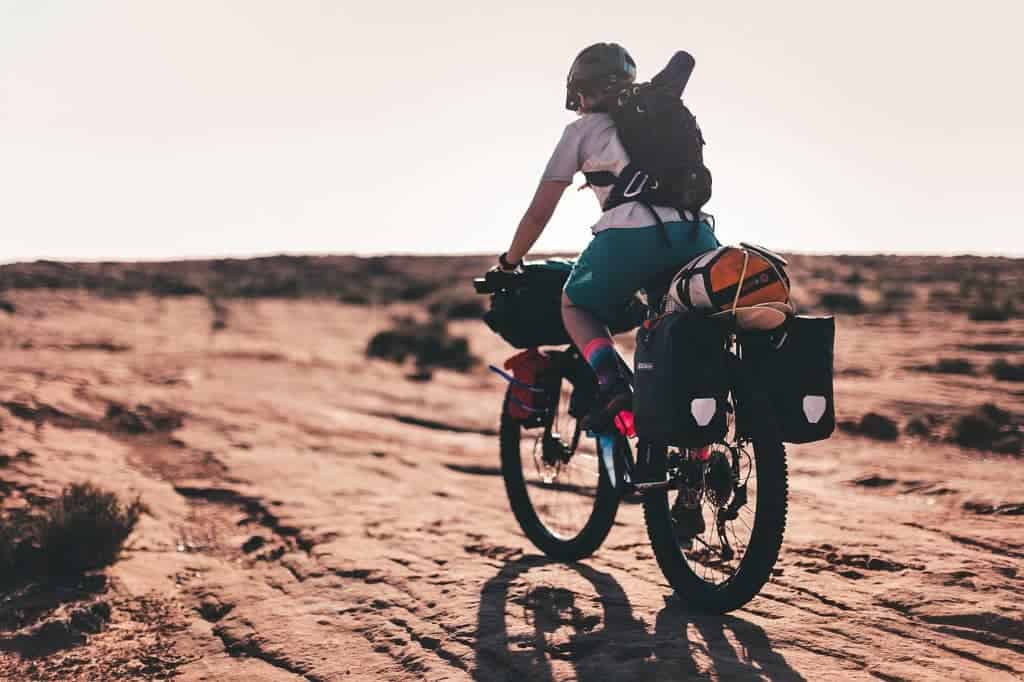
Bikepacking gives you the freedom of multi-day backcountry hiking with the thrill of a mountain bike. People who tour on a bicycle are called the ‘bikepackers’ and mind you; they are very free-spirited. Bikepackers usually ride on remote areas or dirt routes.
Bikepacking, typically off-road, is about having fun on the trail, no gear overload. It is a self-supported style of lightly-loaded bike touring.
I know adventure comes when you burst out of your shell. The truth is that it is always best to put yourself in a comfortable position, if possible. So for that, Bikepacking is an activity that will make you realize the true meaning of ‘Less is More.’
You may be thinking that bikepacking is a cheap means of outdoor adventure, considering you are on a bike. Well, it can be.
As a beginner, I suggest you pick a short overnight route while using what you have. It is the best way to get some experience of what you need.
Otherwise, you would need a perfect bike to get you through the routes of your choice. You would also need custom bags and ultralight camping gear turning out to be a significant investment.
Bikepacking: Is Bikepacking only for the youths?
There is a myth in the biking community about how Bikepacking is only for the super-fit youths. Let me clear one thing out for you; IT IS NOT.
I read an inspiring story on worldbiking.info about a French couple in their 60s surpassing their team on their way to Ushuaia. Wait! It gets more interesting. The couple passed them while they were fighting strong headwinds.

See! It is all about the zeal that one needs to have. Get that zeal, and then you can see yourself fighting storms, camping, and riding.
Bikepacking: History
The term ‘Bikepacking’ goes back to May 1973. It was when Bikecentennial — an event comprising bike tours on the TransAmerica Bicycle Trail was formed.
The co-founder of Bikecentennial, Dan Burden, used the word in his article. It was about his journey across Alaska and Canada on a bike. It was published in National Geographic, after which the activity gained much popularity.
After that, Robin Adshead introduced his book titled ‘Bikepacking for Beginners.’ The book gained a lot of popularity among the bike-enthusiasts seeking adventure.
You can get the book on Amazon and eBay.
Bikepacking: When is the best time to go bikepacking?

I believe there is no such thing as the BEST time for Bikepacking. You can go whenever you like.
I mean, the best time for Bikepacking is when you have sorted out the equipment, bikes, routes, and weather. I wrote the temperature at the end as climatic conditions do not restrict Bikepacking trips.
Take Alastair Humphreys and Rob Lilwall, for example. They had biked their way through winter in Siberia. There, they camped at a temperature below -40 degrees celsius.
They even passed Yakutsk—the coldest place on earth known to humankind.
So the weather is not an issue. But if you do not want any problem on your Bikepacking trip, then do not worry. I have segregated what kind of weather works best for the journeys of your choice.
You want to go on a short Bikepacking trip to experience sceneries and have fun in a limited time. Then, you would wish to have mild weather with enough daylight hours.
Long trips, however, can be tricky. You might leave when the weather is nice; then, you will be reaching the destination with a whole new climate. So it is always best to research your route’s climatic conditions before you leave.
Bikepacking: How to pack?
You may be thinking that Bikepacking requires a massive budget on gears. Well, it is both a NO and a YES.
No, because you can bikepack on a functioning second-hand bike, panniers, and a backpack on the rack. If you can manage these, then you know there is nothing expensive about backpacking.
On the other hand, Bikepacking requires a hefty investment. It is the case when you are on an extended tour where some essentials cannot be sacrificed.
So how does your bikepacking setup need to be, and what all do you need?
Essentials for your bike
i. Seat Packs
Seat Packs are what you strap onto your bike’s seat rails. My favorites are:
• Revelate Designs Shrew Seat Bag: $57 (This is the most affordable one and is durable too)
• Revelate Designs 14L Terrapin System: $155 (This is more stable, durable, and waterproof)
• Porcelain Rocket ‘Albert’: $230
ii. Handlebar bags/ Cockpit
Handlebar bags or ‘cockpit’ bags are bags that you strap on your mountain bike. It has short stems and wide bars.
• Bedrock Bags Moab Handlebar Bag (13L): $160
(These are simple, ultra-light, and have a quick attach and detach feature)
• Revelate Pronghorn: $145 / $150 / $160
iii. Tube bags
Tube bags are where you keep your snacks, energy bars, and gadgets. Some of the nice ones are:
• Apidura Backcountry Top Tube Bag
• Bedrock Bags Dakota Tank Bag
• JPaks Snakpak
iv. Frame Bags
Frame bags are where you keep your heavier items to maintain a low center of gravity.
• Oveja Negra Super Wedgie
• Blackburn Outpost Elite (3.37): $130
Bikepacking: Full gear list

Now that I have shed some light on the backpacking bags, let me tell you what to keep inside them. First off, you should not pack anything unnecessary. Remember, ‘Less is More.’
It would be good to keep your bags light because having a lightweight setup makes it easy to handle your bike. It becomes easier to even carry your bike at trails where you cannot ride it.
Here I have made a list of must-have Bikepacking items. It can serve as a checklist for your next Bikepacking trip.
i. Camping Equipment
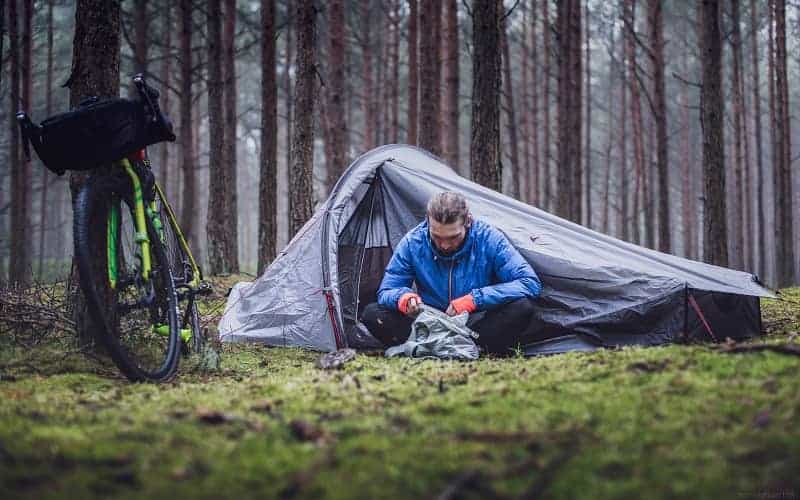
If you do not want to accommodate at a local motel, then making a shelter for yourself is a need than a want.
So what kind of shelter do you prefer for your Bikepacking trip? Is it a full tent with features like vestibules or a simple tarp that is light and spacious?
No matter what your preference is, here are some of my favorite brands of tents and tarps. They are the best for your bikepacking journey.
A) Tents
Tents can be rather heavy to carry, and we all know Bikepacking is all about staying light. So, here I have listed some ultralight tents that have spacious design too.
• Nemo Hornet Elite 2P: $499.95 • Big Agnes Fly Creek UL1 mtnGLO: $399.95 • Tarptent Cloudburst 3: $369 • Six Moons Designs Lunar Solo: $230
B) Tarps
Tarps are the lightest means for your transportable shelter. It weighs nearly a pound less than a tent and has a sound ventilation system. Not to forget, tarps are very easy to set up too.
• Tarptent Aeon Li: $535
• Hyperlite Mountain Fear Flat Tarp: $365 • Double Rainbow: $299
ii. Quilts and Sleeping Bags
Most of the bikepackers choose quilts over sleeping bags. They are lighter and highly versatile. And quilts give the same warmth as sleeping bags do.
Using the quilt and a sleeping pad with a high P-value underneath helps you stay warmer.
My favorite one is Katabatik Gear Alsek 22◦ (-7◦C): $510
Sleeping Bag, on the other hand, has its basic tube style that prevents air drafts. This feature is best for sleeping in Arctic-cold climates. Plus, sleeping bags provide more security than quilts.
- Z Pack Solo Down (20◦F / -7◦C): $410
ZPacks are ultra-light, so if you prefer sleeping bags to quilts, it should seal the deal. Plus, it is cheaper than quilts too.
iii. Clothing
For bikepackers, knowing what clothes to wear while Bikepacking is more of a strategy than fashion. You see, it is about staying warm, cold, or dry, both on and off the bike.
Packing your Bikepacking clothes also depends on where you are going, the weather, and the type of bags you are carrying.
Some of the must-have clothing items for a backpacking trip are:
• Helmet
• Padded cycling shorts
• Cycling gloves
• Cleated cycling shoes
• Sports sunglasses
• Waterproof jacket
• Socks
• Undergarments
• Clothes of synthetic material
• T-shirts
• Fluorescent, reflective jackets or gears to maximize visibility to road users.
• Headlight
Some of the clothing essentials, according to the weather, are:
Warm Weather
• Pair of shorts
• Jersey
• Sunglasses
• Hat
• SPD Sandals
• Jacket or tracksuit for the night
Cold Weather
• Thermal baselayers
• Fleece (windproof) outer shell
• Insulative waterproof trousers
• Warm gloves
• Neck buff
• Beanie
Monsoon Weather
• Synthetic t-shirts and trousers
• Lightweight, disposable poncho
• Plastic bags
• Spare clothing
iv. Cooking Kit
Refueling yourself as you ride to your destination is a must. Making a quick food stop is tempting, especially when you see your favorite restaurant chain in front of you.
But, let me clear it out to you that eating fast food makes you sluggish. It is better to cook your meal and eat restaurant meals only once or twice on your trip.
Here is a list of some cooking kits that you need to pack to cook your food on your Bikepacking trip:
• Pot Insulator
• Trangia Spirit Burner (if you are using fuel) + Fuel bottle
• Stove (if you are using gas) + Gas cartridge
(BRS-3000T Stove Ultralight is a good stove for backpacking)
• Spork
• Knife
• Steel mug for boiling water
• Hydration bladder + Water purification tablets
• Lighter or Matches
v. Navigation
• Maps
• GPS
• Or your Smartphone
vi. Hygiene and Toiletries
• Toothbrush
• Toothpaste
• Hand Sanitizer
• Toilet paper
• Towel
• Wet wipes
• Moisturizer
• Lip balm
• Sunscreen
vii. Frist-Aid Kits
• Bandages
• Hansaplast
• Cotton
• Betadine
• pain-relief pills
viii.Miscellenaeous
• Torchlight
• Water bottle
• Extra batteries
• Camera
• Portable chargers
• Bike repair tools like a patch kit, tire levers, and multi-tools
• Duct tape
Bikepacking: Food items

When you buy groceries for your Bikepacking trip, make sure that it has all the vital nutrients. The nutrients are, namely carbohydrates, fats, protein, and salt.
Let me give you some meal options for your backpacking trip. They are easy to make and are also nutrient-rich, which will keep you going for the day.
A) Breakfast
• Instant Oatmeal
• Peanut Butter and bread/crackers
• Tea/Coffee
(Note: Avoid fatty and sugary food in the morning)
B) Lunch
• Crackers and cheese
• Tortilla with salami
• Avocadoes
• Apples and Hummus
• Sliced sausages
C) Snacks
• Dried fruits
• Nuts
• Energy bars
• Chocolates
• Apple slices
D) Dinner
• Canned beans and tortillas
• Ramen noodles
• Pasta (self-cooking) with sliced cheese
Bikepacking: Best routes in the world
The best Bikepacking route depends on an individual’s preference. Some may like riding through the lush forest roads, while some may enjoy the ease of riding on a paved highway.
For me, the best places/routes are where you feel inspired. You may be thinking about how a place can inspire you. Well, it can.
Every route you take carries a unique experience, and these experiences help you learn more about life. You know a lesson through every hurdle you face.
The best route also depends upon the scenery, difficulty, and the budget of the path. You can find a bikepacking course of your choice through maps, guidebooks, and websites.
Bikepacking.com also features many bikepacking trails. It also publishes guides written by the bikepackers. But, for your ease, I have listed some of the classics yet best long distance and overnight stay routes.
Long Distance Routes
• The SoCal Desert Ramble, Southern California: 10 days
• Manali to Leh, India: 14 days
• The Great Britain Divide, UK: 15 days
• Top of the South (TOTS), New Zealand: 20 days
• Trans- Mexico Sur and Norte route, Mexico: 40 days
• Canada to Mexico (Wild West Route): 50 days
Short Distance Routes
• Parksville, British Colombia to Englishman River Falls Park, Georgia: 1 day
• Grand Island, Nebraska, US: 1 day
• The Sawpa Divide, Canada: 2 days
• Downtown Brevard to Looking Glass (and back), North Carolina: 2 days
So here we have it, a brief introduction and some quick tips for Bikepacking. If you have anything else you’d like me to add, please feel free to comment below.


