
How to lace trekking boots like a pro? Just pull the laces tight, and you’re done, right? Well, it’s not that simple. We may think it is the same as lacing your normal shoes but it surely isn’t.
There are a few techniques you can use to lace your boots specifically for the type of terrain you’re tackling.
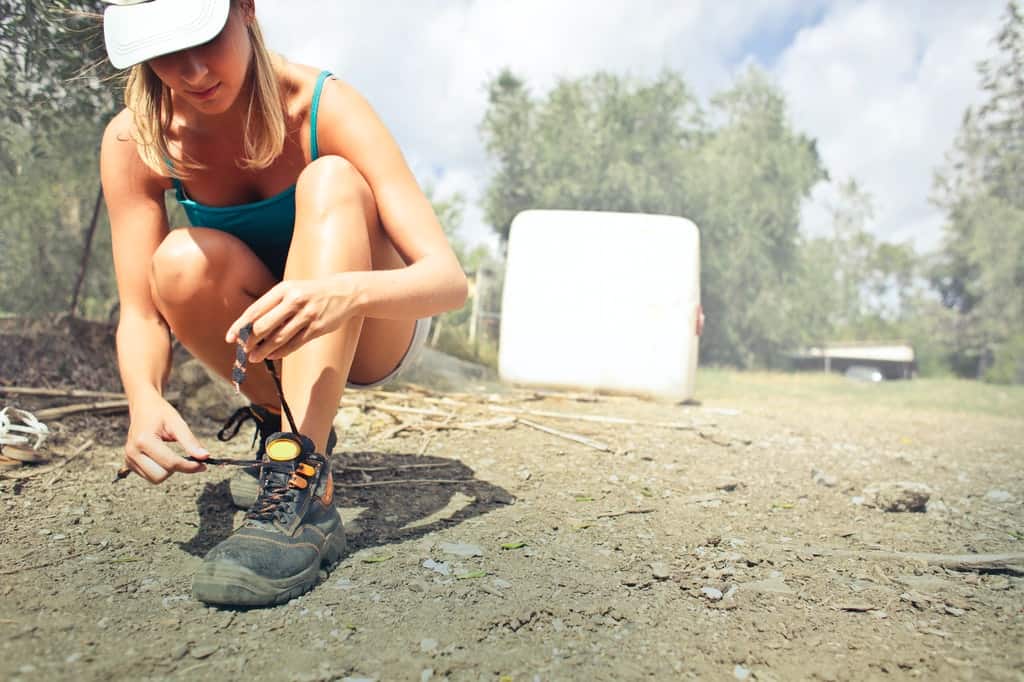
Lacing your boots correctly and tightly is extremely important. It is especially true for high-performance boots in which the shoes are designed to flex correctly to your foot and for boots that are a snug fit. Improperly laced boots can cause blistering, pain, and even walking problems. When lacing boots, the proper technique is to pull the laces snugly but not tight when tying the knots. There is no need to double knot in boots with eyelets since the eyelet will not slip through the hole. This is the case for hiking boots.
There are several ways on how to lace trekking boots like a pro:
1. Toe-relief lacing
Toe-relief lacing keeps your toes from rubbing and is especially useful for high-performance boots or other boots where a snug fit is essential.
STEPS
- Pull out each of the lower lacing loops, starting with the weakest eyelets and upward to the highest eyelets.
- Next, loop the lace through the eyelets in order from highest to lowest. You will start at the outside ring and weave your laces into the eyelets, going over them rather than under them.
- Once you have laced up your foot, pull tight and snug the laces that do not have eyelets. In this manner, you can tighten up the laces on all of your boots.
- If you are using laces with eyelets, double-knot them and then snip off the excess lace, leaving a small loop about ¼ in. You would want to leave a little room at the top of your boot so that it fits better around your ankle.
2. Window Lacing
If you find that your hiking boots are not flexible enough to flex with your foot and are causing blisters, try window lace. Window lacing uses the eyelets in your boot to create a sort of window that bends when you step down.
STEPS
- Find the proper lacing order. Start at the outer ring and work your way around, ending at the outer ring again.
- When you have your lacing order, take the lace, go under all of the eyelets that are to be covered.
- Take the lace back up to the same side of the eyelet but across from where you first crossed the lace. Go over all the eyelets again. You will be able to adjust how far down the laces go before going over and under again.
- In some cases, keeping your boots laced up tight will prevent blisters; but in many cases, if your boot isn’t giving you enough support or flexibility, it’s best to give your shoes a break and try different lacing techniques.
Read more: Learn more about the facts on trekking here.
3. Racing Lacing
Today most people, when they lace their boots, lace them in a ‘Racing’ fashion.
It means that the first section goes from one side of the lace hole to the other, then all the different sections are laced like this.
The advantage of this lacing is that you can slip your foot into the boot much more quickly. It makes it easier to get your boots on and off at the start of a hike.
4. Surgeon’s Knot
Also known as a double-hand knot, here, two loops on the rope are made.
The surgeon’s knot is often used in climbing in place of the bowline on a climbing harness. The surgeon’s knot can slip slightly more freely than a bowline (when tied correctly). The surgeons also have less tendency to untie themselves than a bowline when tied incorrectly. The main drawback of the surgeon’s knot is that it takes longer to tie and untie.
STEPS:
- Take the end of the string and wrap it around itself.
- Loop it around itself again and pull tight.
- Loop it over the other piece of string and pull tight.
- Loop the end of the string through the loop you just made.
- Measure your foot length and mark 3 or 4 places on your bootstrap.
- With the pencil or pen, mark one end of your belt strap.
Note: Do not cut the belt strap off right away; leave it long enough to tie a double knot along with it (as shown).
5. Granny knot/ square knot
The granny knot is a decorative knot that is easy to tie and can tie small items together. Square knots are also called reef knots or sailor’s hitches, and they are used to bind two ropes together.. It is a mid-strength knot and is the recommended method for joining two ropes of different diameters.
It is also used to join the ends of bolt ropes together as guy lines on a tent. In this case, one should ensure the end of the rope has been melted to prevent it from fraying. Using a square knot to tie two ropes together is called “reefing” or “reefing” the rope.
The granny knot can be used as an alternative to the square knot for tying two pieces of string together, depending on use. However, the square knot is more secure than the granny knot.
STEPS
- Wind the end of one piece of string around itself, then wrap it around the other piece of string and pull it tight.
- Loop it over the end and pull tight.
- Tie a knot near/on one side of one piece of string. The result should resemble a reef knot, or what some people call a granny knot.
If you get blisters on your feet, try this quick fix:
Tape a piece of cloth over the upper part of the offending eyelets before lacing your boots up again.
However, if your hiking boots start to irritate your feet in uncomfortable ways, you’ll be glad to learn these few new lacing tricks that may help ease your discomfort.