
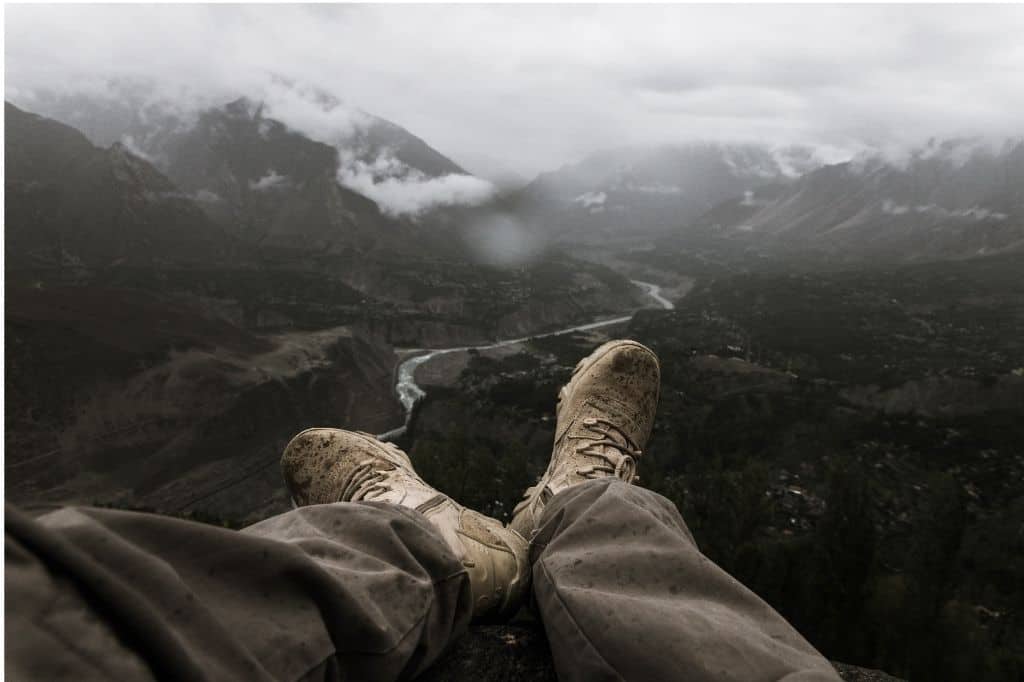
To choose trekking shoes, start with the terrain, load and weather you will face. Then pick the lightest type that handles them, and spend most of your effort on fit. A well-fitting mid-height boot or hiking shoe that you have already walked in suits most teahouse treks in Nepal. Heavy mountaineering boots are only needed for technical, snowy climbs.
This guide explains the main types of trekking footwear, how to get the fit right, waterproof versus breathable, what the evidence says about ankle support, and what to wear on Nepal’s popular treks in each season.
Quick answer: which type of trekking footwear?
| Type | Best for | Typical weight (pair) | Pros | Cons |
|---|---|---|---|---|
| Trail running shoes | Fast, light trekking on good trails; warm, dry seasons | Roughly 500-700 g | Light, breathable, little break-in, dry quickly | Less protection and warmth; wear out faster |
| Hiking shoes (low-cut) | Day hikes and lower teahouse treks such as Poon Hill | Roughly 700-1,000 g | Stiffer and tougher than trail runners, still light | Debris and snow get in; little ankle protection |
| Mid hiking boots | Most multi-day treks, including EBC and ABC | Roughly 900-1,400 g | Good balance of protection, support and weight | Warmer and heavier; waterproof versions dry slowly |
| Backpacking boots | Heavy loads, rough or off-trail ground, colder or snowier conditions | Roughly 1,300-1,900 g | Stiff, protective, durable, warmer | Heavy; need breaking in |
| Mountaineering boots | Glaciers, crampons, trekking peaks above 6,000 m | 2,000 g and up | Crampon-compatible, insulated | Overkill and uncomfortable for normal trekking |
Weights are rough guides for an average adult size. They vary widely between brands, sizes and materials.
The main types of trekking shoes and boots
Trail running shoes
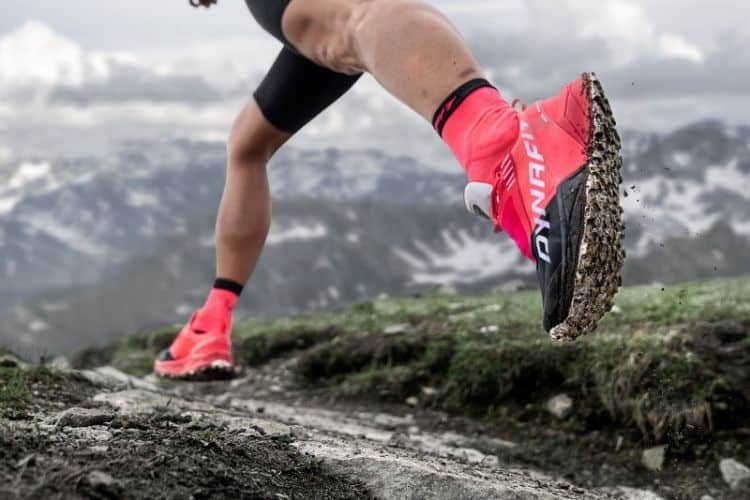
Trail runners are light, flexible running shoes with grippy, lugged outsoles. Many long-distance hikers now use them on well-made trails, because they are comfortable straight out of the box, they dry quickly after a soaking and they reduce the effort of every step. On Nepal’s main teahouse trails, which are mostly stone steps and well-trodden paths, they can work well in the dry, mild months for experienced walkers with strong ankles and a light pack.
The trade-offs are less protection from rocks, less warmth on cold mornings, poorer performance in snow and faster wear. Expect a pair to last a few hundred kilometres. A common rule of thumb is 500-800 km, depending on terrain.
Hiking shoes
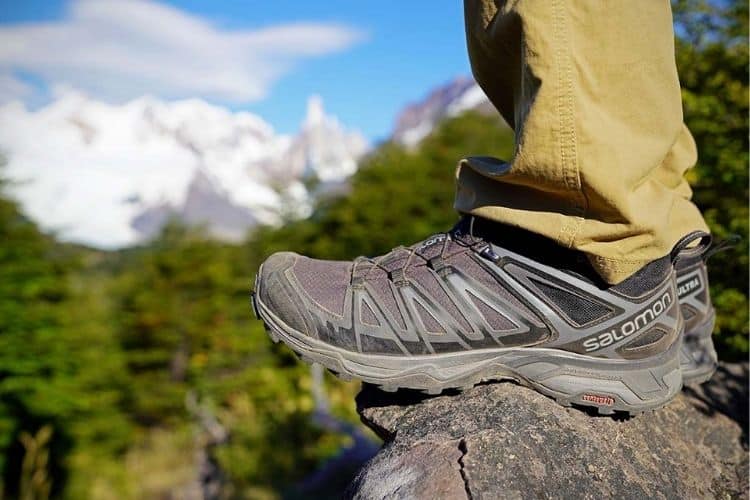
Hiking shoes are low-cut, like trail runners, but built with stiffer midsoles, tougher uppers and often a protective toe cap. They suit day hikes and lower or shorter treks such as Poon Hill, Ghandruk or Australian Camp, especially if you dislike the feel of boots. Many trekkers also bring a pair as a backup or for travel days.
Mid hiking boots (day hiking boots)
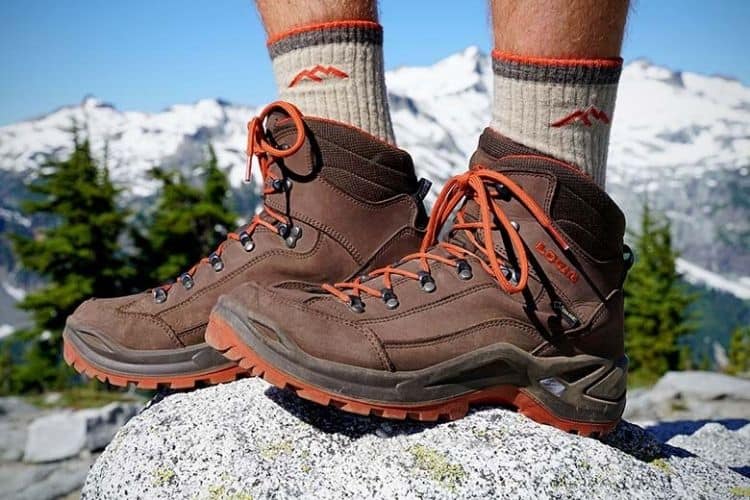
Mid-height boots rise just above the ankle bone. They are the most popular choice for Nepal treks, and for good reason. They keep out grit, shallow water and light snow, protect the ankle bones from knocks on rocky ground, and give more stability with a daypack or light pack than a shoe. Modern synthetic mids are light enough that most people need very little breaking in.
Backpacking boots
Backpacking boots are taller and stiffer, often with leather uppers and a stiffer midsole or shank. They are designed to carry heavy loads over rough ground for days on end. They make sense if you are camping and carrying 15 kg or more, trekking in winter on snowy passes such as the Thorong La or Cho La, or walking remote routes with poor trails. They need more breaking in and feel heavy on easy ground.
Mountaineering boots
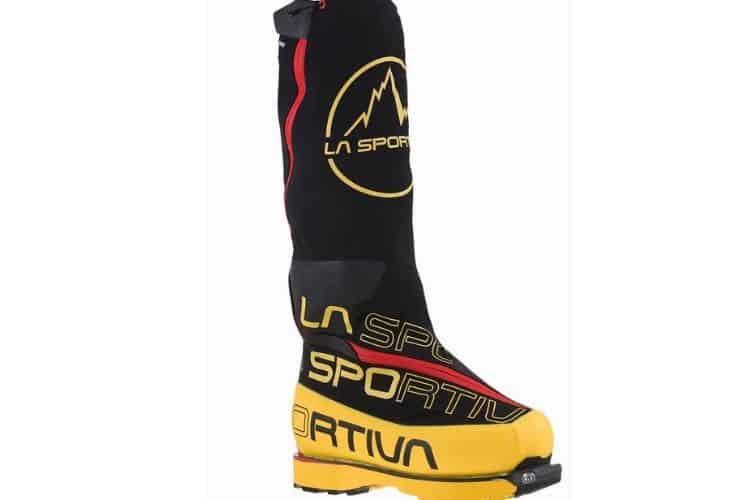
Mountaineering boots are insulated, rigid boots built to take crampons, with a welt for step-in bindings on the more technical models. They are for glacier travel and climbing peaks, not for trekking. High-altitude double boots like the one pictured below are designed for 8,000 m peaks and are far too warm, stiff and heavy for a teahouse trek. If you are climbing a trekking peak such as Island Peak (Imja Tse), you would normally trek in ordinary boots and switch to mountaineering boots, often hired in Kathmandu or Chhukung, for the climb.
How trekking footwear is built
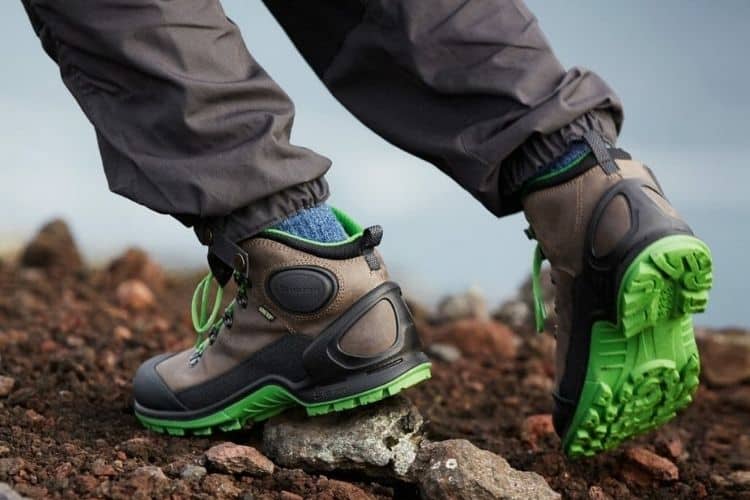
Knowing the parts of a boot helps you compare models and understand what you are paying for.
- Upper: full-grain leather is durable, supportive and water-resistant but heavier and slower to break in. Nubuck and suede are softer leathers. Synthetic uppers (nylon, polyester mesh) are lighter, more breathable and quicker to dry but less abrasion-resistant. Many boots combine leather and fabric.
- Midsole: the cushioning layer. EVA foam is light and soft. Polyurethane (PU) is firmer and longer-lasting, and common in heavier boots.
- Shank or plate: a stiffening insert between midsole and outsole that adds torsional stability and protects your feet from sharp rocks.
- Outsole and lugs: deeper, widely spaced lugs (around 4-5 mm or more) grip mud and loose ground and shed dirt. Shallower lugs suit hard trails. Softer rubber grips wet rock better but wears faster. A defined heel brake helps on steep descents.
- Toe cap and rand: a rubber bumper around the toe and sides protects against rocks. It is useful on Nepal’s stone steps and boulder fields.
- Lining: the inner layer, which may include a waterproof-breathable membrane (see below) and insulation.
How to get the fit right
Fit matters more than brand, price or features. A boot that fits badly will hurt, however good its reviews. Follow these steps:
- Shop late in the day. Feet swell during the day and on long walks, so try boots on in the afternoon or after a walk.
- Measure both feet, length and width. Most people have one larger foot, so fit the larger one.
- Bring the socks and insoles you will trek in. A thick trekking sock can change the fit by half a size.
- Check the length. With the boot unlaced, slide your foot forward until your toes touch the front. You should be able to fit roughly a finger’s width (about 1-1.5 cm) behind your heel. When laced, your toes should be able to wiggle freely.
- Check the heel. Lace up firmly and walk. Your heel should lift very little, a few millimetres at most. Heel slip is a classic cause of blisters.
- Check the width and volume. There should be no pressure on the sides of the foot or across the top. If the laces are almost touching, the boot is probably too high-volume for you. If you cannot close them, it is too low.
- Test on a slope. Use the shop’s ramp or stairs. Going downhill, your toes should not hit the front. Going uphill, your heel should stay put.
- Wear them for 15-20 minutes in the shop before deciding, and pay attention to any hot spot. Small pressure points become blisters by day three of a trek.
Sizes vary between brands and even between models from the same brand, so never buy on size alone. If you buy online, order from a retailer with a generous return policy and test the boots indoors first.
Should trekking boots be a size bigger?
Often, but not always a full size. Many people end up half a size larger than their everyday shoes, to allow for thicker socks, swelling on long days and room for the toes on descents. Go by the fit checks above rather than a rule. A boot that is too big lets your foot slide and causes blisters just as surely as one that is too small.
Lacing tricks
Lacing can fix many small fit problems. A heel-lock (or “surgeon’s knot” at the ankle) holds the heel in place on descents. Window lacing, which skips one pair of eyelets, takes pressure off a tender spot on the top of the foot. Retighten your laces before a long descent and loosen them slightly for long climbs.
Breaking in your boots
Modern synthetic boots and trail shoes need little breaking in, but your feet still need to get used to them. Leather backpacking boots can take considerably longer. A sensible plan is:
- Wear them around the house for a few evenings.
- Do short local walks, then longer walks on hills.
- Finish with at least two or three full-day hikes with your trekking pack, ideally including steep descents.
Start this at least three to four weeks before you fly, and longer for stiff leather boots. Never take brand-new boots on a trek. If you get a recurring hot spot, try different socks, lacing or insoles for trekking shoes before the trip.
Waterproof membranes vs breathability
Many trekking boots include a waterproof-breathable membrane such as Gore-Tex or a brand’s own equivalent. These membranes keep out rain, puddles and wet snow while letting some sweat vapour escape.
| Choose waterproof if… | Choose non-waterproof (mesh) if… |
|---|---|
| You will walk in snow, slush or cold rain (EBC, high passes, winter) | You are walking in hot, dry conditions |
| Cold, wet feet are your main risk | Your feet sweat a lot |
| Streams and wet grass are short-lived | You expect to get soaked anyway (monsoon, river crossings) and want shoes that drain and dry fast |
The catch is that waterproof boots are warmer, less breathable and, once water gets in over the top, very slow to dry. In Nepal’s hot, wet monsoon, many trekkers find that a quick-drying shoe and a spare pair of socks work better. For most autumn and spring treks at altitude, a waterproof mid boot is the safer default, because cold, damp feet at 4,000-5,000 m are a real risk.
Gaiters help keep snow, scree and leeches out of any footwear. See our guide to protecting yourself from leeches if you are trekking in the monsoon.
Do hiking boots really prevent sprained ankles?
Less than most people think. Research on high-top shoes, most of it from sport rather than hiking, is inconsistent. High collars can add stability when you are standing still, but they do not reliably prevent sprains during dynamic movement. Some studies suggest that a stiff, high collar may delay the reaction of the muscles that stabilise the ankle. Researchers also note that badly fitted footwear is common, and fit has a large effect on how your feet and ankles work.
In practice, a mid or high boot does protect the ankle bones from knocks, keeps grit and snow out and helps on uneven ground with a heavy pack. But strong ankles, good balance, trekking poles and careful foot placement matter at least as much. If you have weak or previously sprained ankles, talk to a physiotherapist about strengthening exercises, and consider whether a brace would help, rather than relying on boots alone. Our guide on how to pick trekking poles explains how poles reduce falls and knee strain.
Weight: why every gram on your feet counts
Weight on your feet costs far more energy than weight in your pack, because you lift and swing it with every step. US Army research in the 1980s is often quoted as finding that each kilogram on the feet costs roughly four to six times as much energy as a kilogram carried on the back. The effect is smaller at slow walking speeds, so treat the figure as a guide rather than an exact rule.
The practical lesson is to wear the lightest footwear that gives you enough protection, grip and warmth for the conditions. For a teahouse trek with a porter carrying your main bag, that is rarely a heavy leather backpacking boot.
Socks and insoles
Good socks are part of your footwear system. Choose merino wool or synthetic trekking socks, never cotton, which holds sweat and causes blisters. Some people prefer a thin liner sock underneath. Bring at least three pairs for a multi-day trek, with a warm, dry pair kept for evenings and sleeping.
The insoles supplied with most boots are basic. A supportive aftermarket insole can improve heel hold, arch support and comfort on long days. Fit the boots with the insoles you will use, as they take up volume.
What to wear on Nepal’s popular treks, by season
| Trek | Autumn (Oct-Nov) | Winter (Dec-Feb) | Spring (Mar-May) | Monsoon (Jun-Sep) |
|---|---|---|---|---|
| Everest Base Camp (5,364 m) | Waterproof mid boots | Waterproof mid or backpacking boots, warm socks, microspikes | Waterproof mid boots | Waterproof mid boots, gaiters |
| Annapurna Base Camp (4,130 m) | Mid boots (waterproof) | Waterproof mid boots, microspikes above Deurali | Mid boots | Quick-drying boots or shoes, leech socks or gaiters |
| Poon Hill (3,210 m) | Hiking shoes or mid boots | Mid boots (ice on steps near Ghorepani) | Hiking shoes or mid boots | Quick-drying shoes, leech protection |
| Annapurna Circuit (5,416 m) | Waterproof mid boots | Backpacking boots, gaiters, microspikes | Waterproof mid boots | Mid boots, gaiters (rain-shadow upper section is drier) |
A few Nepal-specific tips:
- Trails are mostly stone. Long staircases (Ulleri, Chhomrong, Namche Hill) reward a cushioned midsole, a good toe cap and a grippy heel for descents.
- Cold mornings at altitude. Above about 4,000 m, frozen ground and early starts mean warm, dry feet matter. Trail runners are a poor choice above Lobuche or on the Thorong La in cold weather.
- Bring camp shoes. Light sandals or trainers let your boots air in the evening and are handy for lodge toilets.
- Wear your boots on the flight. Domestic flights such as Kathmandu to Lukla have tight baggage limits, so wearing your heaviest item saves weight, and your boots arrive with you if bags are delayed.
- Microspikes, not crampons. On teahouse treks, simple slip-on microspikes are enough for icy trails and passes in winter and early spring.
For full kit lists, see our Everest Base Camp packing list and our free trek packing checklist.
Caring for your trekking shoes
- Clean after use: knock off mud and rinse with lukewarm water and a soft brush. Dirt and grit wear down fabric and leather and clog membranes.
- Dry slowly: remove the insoles, stuff with newspaper and dry at room temperature. Never put boots next to a stove, fire or radiator. Heat damages glues and leather, and lodges’ yak-dung stoves are a classic way to ruin boots.
- Reproof: refresh the water-repellent finish with a product designed for your boot’s material (leather wax or fabric spray).
- Store properly: keep boots somewhere cool and dry, out of a sealed bag.
- Know when to replace: worn-flat lugs, a compressed midsole that no longer cushions, splits in the upper or a leaking membrane are all signs. Some good-quality leather boots can be resoled.
Common mistakes to avoid
- Buying boots a week before the trek
- Choosing heavy mountaineering-style boots for a teahouse trek
- Fitting boots with thin everyday socks
- Assuming waterproof means better in every season
- Buying on brand or size alone without trying them on
- Ignoring a small hot spot in the shop
Conclusion
The right trekking shoe is the lightest one that copes with your terrain and weather, and that fits your feet perfectly. For most Nepal teahouse treks, that means a well-fitting, broken-in mid boot, usually waterproof for autumn, winter and spring at altitude, plus good socks and a pair of camp shoes. Get the fit right, start walking in them weeks before you fly, and your feet will be one less thing to worry about.
Next, finish your kit with our guides on choosing a trekking backpack and essential trekking items, or browse our trekking in Nepal guides to pick your route.
Frequently asked questions
How should trekking shoes fit?
Snug at the heel and midfoot, with room to wiggle your toes and about a finger’s width (1-1.5 cm) behind the heel when your foot is pushed forward in the unlaced boot. Your heel should barely lift when you walk, and your toes should not touch the front on a downhill slope.
Should I buy hiking boots a size bigger?
Many people need half a size bigger than their everyday shoes, to allow for trekking socks and foot swelling. Do not automatically go up a full size, though. Use the fit checks instead, because a boot that is too big causes blisters too.
Are trail running shoes OK for trekking in Nepal?
They can be on lower teahouse treks such as Poon Hill in dry, mild weather, for experienced walkers with strong ankles and a light pack. At high altitude, in snow or in cold months, most people are better off in a waterproof mid boot.
What footwear do I need for Everest Base Camp?
A well-fitting, broken-in, waterproof mid-height trekking boot suits most people from October to May. Add warm socks, gaiters and microspikes in winter. Mountaineering boots are not needed unless you are climbing a peak.
How long does it take to break in hiking boots?
Light synthetic boots may need only a few walks, while stiff leather boots can take several weeks. Start at least three to four weeks before your trek, and do two or three full-day hikes with your pack before you go.
Are waterproof hiking boots worth it?
For cold, wet or snowy conditions, yes, because they keep your feet warm and dry. In hot weather or the monsoon they can be sweaty and slow to dry once wet, and quick-drying shoes may be better.
Do hiking boots prevent ankle sprains?
Not reliably. High collars add some stability and protect the ankle bones, but research suggests they do not consistently prevent sprains. Good fit, ankle strength, trekking poles and careful foot placement matter as much.
How do I clean and dry walking boots?
Brush off mud, rinse with lukewarm water, remove the insoles and dry them slowly at room temperature, stuffed with newspaper. Never dry boots next to a fire or radiator. Reproof them regularly with a product suited to the material.