
Step 2: Choose your route and flight logistics
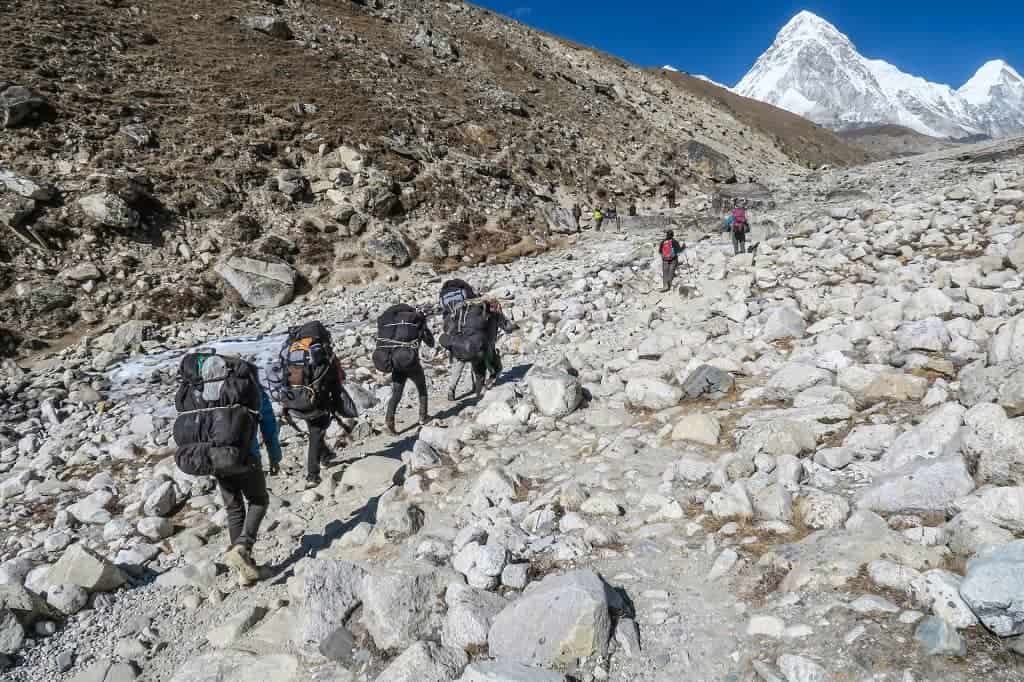 Once you have determined the season, the second thing you must lock on is the route you choose.
The route determines your physical challenge and the number of days needed to successfully complete the trek. Moreover, you must account for the high-season flight reroutes out of Kathmandu.
Once you have determined the season, the second thing you must lock on is the route you choose.
The route determines your physical challenge and the number of days needed to successfully complete the trek. Moreover, you must account for the high-season flight reroutes out of Kathmandu.
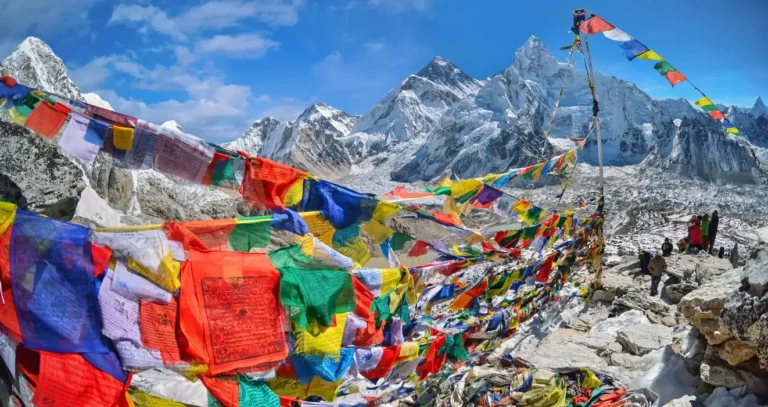
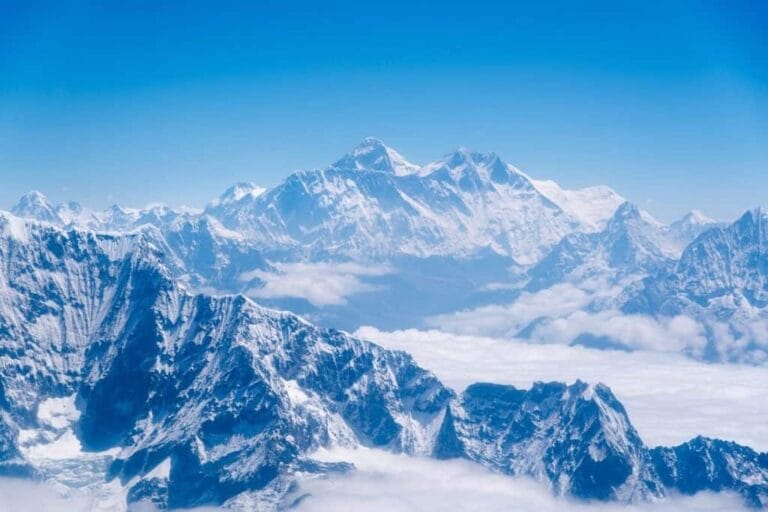
- 1. Popular Lukla Route (12–14 days): The standard fly-in, fly-out trail taken by most trekkers. You fly to Lukla, ascend through Namche Bazaar, Tengboche, Dingboche, Lobuche, and Gorak Shep to EBC. On your return, you hike up Kala Patthar for panoramic views of Everest before descending via Pheriche.
- 2. Classic overland routes (18–22 days): The classic overland route has two options for you.
- Jiri to EBC: The historic route followed by Tenzing Norgay and Sir Edmund Hillary. It involves a drive to Jiri followed by days of trekking through mid-hill villages such as Junbesi and Nuwatal/Nunthala before joining the main EBC trail.
- Phaplu / Tham Danda Drive: A popular alternative to flying into Lukla. You drive 9–10 hours by jeep from Kathmandu to Phaplu or Tham Danda, avoiding Lukla flight cancellations while enjoying gradual, low-altitude acclimatisation.
- 3. Alternative Routes & Circuit Variations:
- Helicopter (8–10 days): After you have trek to the Everest Base Camp instead of descending on foot you can take a shared helicopter from Gorak Shep to Lukla or Kathmandu. It is a perfect option if you are short on time or simply don’t want to trek back.
- Gokyo Lakes via Cho La Pass (16–18 days): Diverts west off the main trail to explore the pristine turquoise Gokyo Lakes and climb Gokyo Ri before crossing the high Cho La Pass (5,420 m) to reach Base Camp.
- Everest Three Passes Trek (19–21 days): The ultimate high-altitude challenge, crossing Kongma La (5,535 m), Cho La (5,420 m), and Renjo La (5,360 m) for an adventurous, uncrowded circuit.
Step 3: Understand difficulty and fitness requirements
- Standard trek duration:
- The standard Lukla-to-Lukla route takes 12 to 14 days (covering 130 km round trip). It includes 8 to 9 days of gradual ascent and two mandatory rest/acclimatisation days, and 3–4 days of descent.
- International travellers must block 16 calendar days in their travel plans to be safe for potential delays or cancellations due to Lukla weather.
- Trail conditions and terrain:
- The EBC trails are well-maintained dirt paths, stone steps, and suspension bridges designed to hold heavily loaded yaks and mules. Near the top, you’ll walk on loose, uneven glacial moraine.
- Expect 5 to 7 hours of daily walking, carrying at least 5 to 8 kg in a daypack.
- Physical training strategy:
- Do not rush the trek to save days. Gradual pacing is essential to allow your body time to adapt to lower oxygen levels.
- Start preparing 2 to 3 months in advance. Focus on long cardiovascular sessions (running, cycling) combined with weighted stair-climbing or hill walking to condition your legs for continuous elevation gains.
Step 4: Choose guided vs independent vs group
If you are wondering if you can solo trek without a guide, I am afraid you cannot. Under Nepal Tourism Board rules, independent trekking without a licensed local guide is prohibited in Sagarmatha National Park. Every trekker must hire a registered guide through a licensed agency to enter the trail. You have two main booking options:- Private Guided Trek: You trek exclusively with your own dedicated guide and porter (ideal for solo travelers, couples, or families). This offers maximum flexibility to adjust daily hiking speeds, take extra rest breaks, and customise your itinerary.
- Group Joining Trek: You join a fixed-departure group of fellow travellers organised by a trekking company. This lowers your individual cost and provides a fun, social experience, though you must follow the group’s fixed daily schedule.
Why Booking Through a Licensed Agency Matters:
A reputable local agency handles all mandatory guide and porter wages, emergency medical insurance, permit checkpoints, teahouse room reservations, flight transfers, and emergency helicopter evacuation logistics if altitude sickness strikes.Tips for Working with Your Guide:
- Verify Credentials: Ensure your guide holds an official government license, speaks fluent English (or your preferred language), and has high-altitude medical training.
- Meet Before You Hike: Have a brief meeting with your guide in Kathmandu before departure to discuss your physical fitness, dietary preferences, and expectations.
Step 5: Organise permits, visas and insurance
Securing your paperwork before stepping on the trail ensures zero delays at border immigration and mountain checkpoints.-
Essential Entry Documents:
- Valid Passport: Must have at least 6 months of validity remaining from your arrival date and at least one blank visa page.
- Document Backups: Keep physical photocopies of your passport, flight tickets, and travel insurance certificate, plus digital copies stored on your phone.
- Crisp USD cash: Bring exact, clean US dollar bills for your visa fee at the airport bank counter (payment kiosks can be unreliable).
-
Nepal Tourist Visa (On Arrival):
- Obtained easily at Tribhuvan International Airport or via a pre-filled online form.
- The fee is $30 for 15 days, $50 for 30 days, and $125.
-
Mandatory Trekking Permits
- Khumbu Pasang Lhamu Permit: NPR 3,000 (approximately $23 USD), collected upon entering the northern Solukhumbu municipality at Lukla or Monjo.
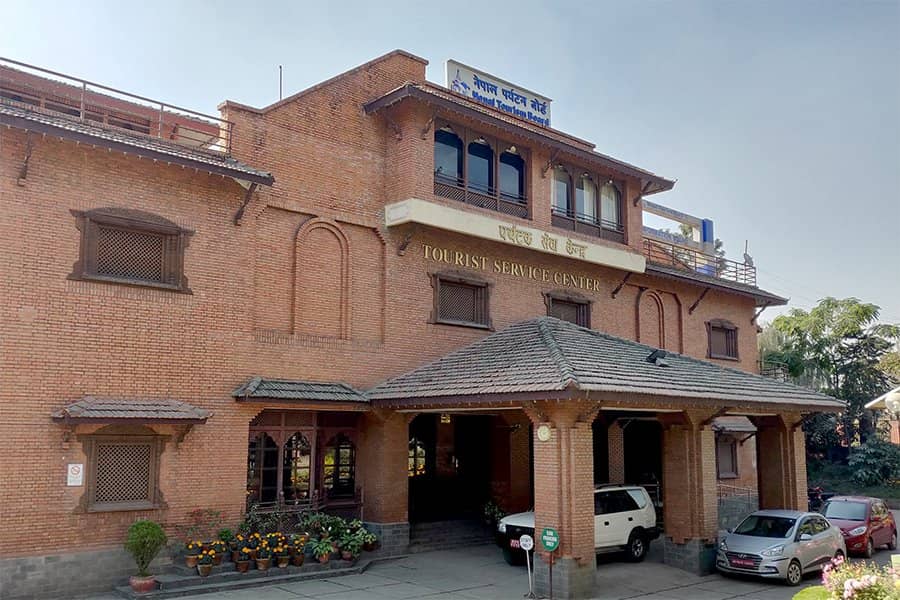
- Sagarmatha National Park Permit: NPR 3,000 + 13% VAT (approximately $25 USD), obtained at the Tourist Service Center in Kathmandu or directly at the Monjo checkpoint. (SAARC nationals pay NPR 1,500 + VAT).
-
High-Altitude Travel Insurance (Essential)
- Standard policies fail at high elevations. Your coverage must explicitly extend up to 6,000 metres and include emergency helicopter evacuation and flight-delay coverage.
Step 6: Understand altitude sickness (AMS) and rest days
Acute Mountain Sickness (AMS) is a primary concern on the EBC trek. Because Base Camp sits at 5,364 metres, where available oxygen is roughly half of that at sea level, proper acclimatisation is really essential. The good thing is that it provides an early sign that includes headaches, nausea, dizziness, loss of appetite, fatigue, and insomnia. However, ignoring even minor symptoms can lead to life-threatening conditions like high-altitude pulmonary edema (HAPE) or high-altitude cerebral edema (HACE).The Two Essential Acclimatisation Stops:
- Namche Bazaar (3,440 metres): The first acclimatisation is on Day 3 or 4. Most trekkers do an acclimatisation hike up to the Everest View Hotel (3,880 metres) before returning to Namche to sleep.
- Dingboche (4,410 metres): Second acclimatisation is on Day 6 or 7. Usually includes a day hike up Nagarjun Hill or toward Chhukung to expose your body to higher elevation before sleeping lower.
Golden Rules for Altitude Prevention:
- Climb High, Sleep Low: Hike to higher elevations during day trips, then return to a lower altitude to sleep.
- Hydrate heavily: Drink 3 to 4 litres of water daily. Avoid alcohol, caffeine, and sleeping pills, as they accelerate dehydration and suppress breathing.
- Pace Yourself (Bistari, Bistari): Walk slowly and deliberately. Rushing uphill dramatically increases your risk of AMS.
Medication (Diamox)
Consult your doctor about taking acetazolamide (Diamox) to speed up acclimatisation. Note that Diamox reduces symptoms, but descending immediately is required if severe AMS develops.Step 7: Estimate Your Daily Teahouse Budget
While basic accommodation on the trek is relatively cheap, prices for food, water, and amenities increase significantly the higher you ascend into the Khumbu region. Accommodation (Budget £5 to £10 / $7 to $13 per night) Teahouses provide simple twin-share rooms with wooden beds and foam mattresses. Most teahouses expect you to eat your dinner and breakfast at their lodge; skipping meals on-site often incurs an extra room surcharge. Food & Meals (Budget £25 to £40 / $33 to $52 USD per day) The traditional Nepalese lentil, rice, and vegetable dish offers the best value, as free second helpings are almost always included. At lower stops like Lukla or Namche Bazaar, meals cost around £4 to £6 ($5 to $8 USD). By the time you reach Gorak Shep (5,164 metres), a single meal costs £8 to £12 ($10 to $15 USD) due to porter and yak transport costs. Paid Amenities & Hidden Extras- Hot Showers (£3 to £7 / $4 to $9 USD): Gas-heated or solar showers cost extra, with prices rising at higher elevations.
- Device Charging (£2 to £5 / $3 to $6 USD): Solar charging stations charge per hour or per device (power banks, phone batteries, camera kit).
- Wi-Fi & Connectivity (£3 to £5 / $4 to $6 USD): You can buy prepaid Wi‑Fi cards (such as AirLink or Everest Link) along the trail, though connections become erratic above Dingboche.
- Drinking Water (£1 to £4 / $1.50 to $5 USD per litre): Boiled or bottled water gets expensive near Base Camp. Using reusable water bottles paired with purification tablets or a UV filter saves money and reduces plastic waste.
Step 8: Essential Gear & Packing Strategy
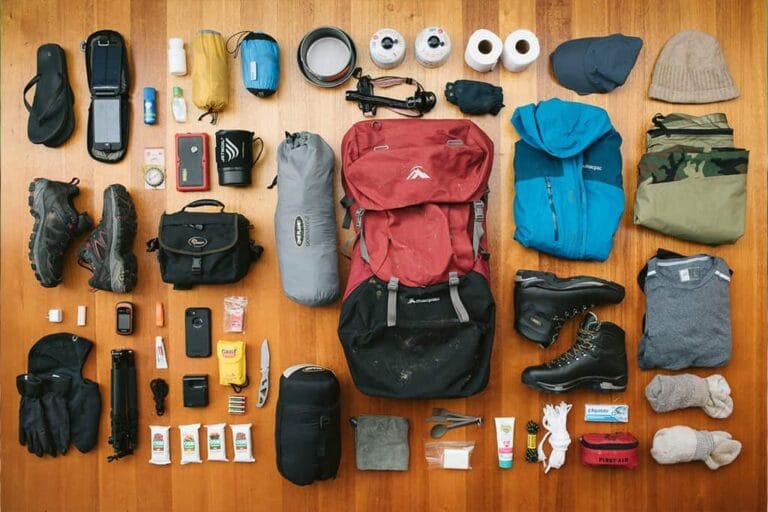
Packing for Everest Base Camp requires strict layering to handle temperatures that range from 20°C in the lower valleys down to -15°C at night near Base Camp.
-
Strict Weight Limits:
-
If flying to Lukla, domestic airlines strictly enforce a total baggage limit of 15 kg per person (10–12 kg for your main duffel bag carried by a porter, plus 3–5 kg for your personal daypack).
-
-
The Essential 3-Layer Clothing System:
-
Base Layer: 2 to 3 sets of synthetic or merino wool thermal tops and bottoms. Avoid cotton entirely, as it retains moisture and induces chills.
-
Mid Layer: A breathable fleece jacket or lightweight down jumper to trap body heat while hiking.
-
Outer Layer: A windproof, waterproof shell jacket (Gore-Tex or similar) and a heavy, high-loft down jacket (rated to -15°C or -20°C) for freezing evenings in unheated teahouses.
-
-
Footwear & Accessories:
-
Boots: Sturdy, broken-in trekking boots with ankle support.
-
Socks: 3 to 4 pairs of merino wool hiking socks.
-
Head & Hands: A warm beanie, a buff or neck gaiter (essential for preventing the dry “Khumbu cough”), UV-blocking sunglasses, lightweight inner gloves, and thick waterproof mittens.
-
-
Trekking Gear & Hardware:
-
Sleeping Bag: A four-season sleeping bag rated down to -15°C (teahouse blankets are rarely warm enough at high elevations).
-
Trekking Poles: Highly recommended for reducing impact on your knees during steep descents.
-
Headtorch: Crucial for early morning summit pushes (such as Kala Patthar) and navigating unlit teahouses at night.
-
Water Purification: UV purifiers (like a SteriPEN) or chlorine dioxide tablets to treat local tap water safely.
-
Pro-Tip (Buying vs. Renting in Kathmandu): Do not carry heavy four-season sleeping bags or bulky down jackets on international flights. High-quality gear (both genuine brand names and reliable local knock-offs) can be rented or purchased in Thamel, Kathmandu, for a fraction of international retail prices.